If you created an expense without attaching a receipt, whether you didn’t have it at the time or simply forgot, no problem! You can easily add the receipt later by following the steps below:
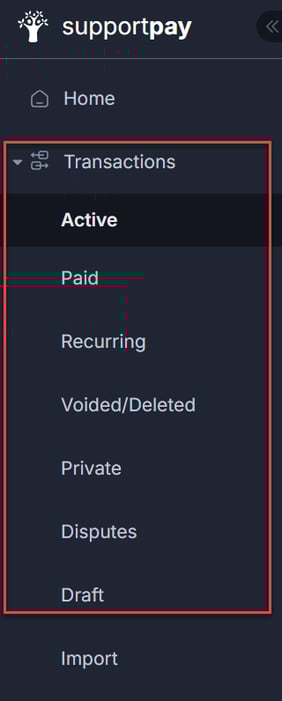
1. Go to Transactions on the left-hand side menu and select the section in which you will locate your expense. For this example, we're selecting Active.
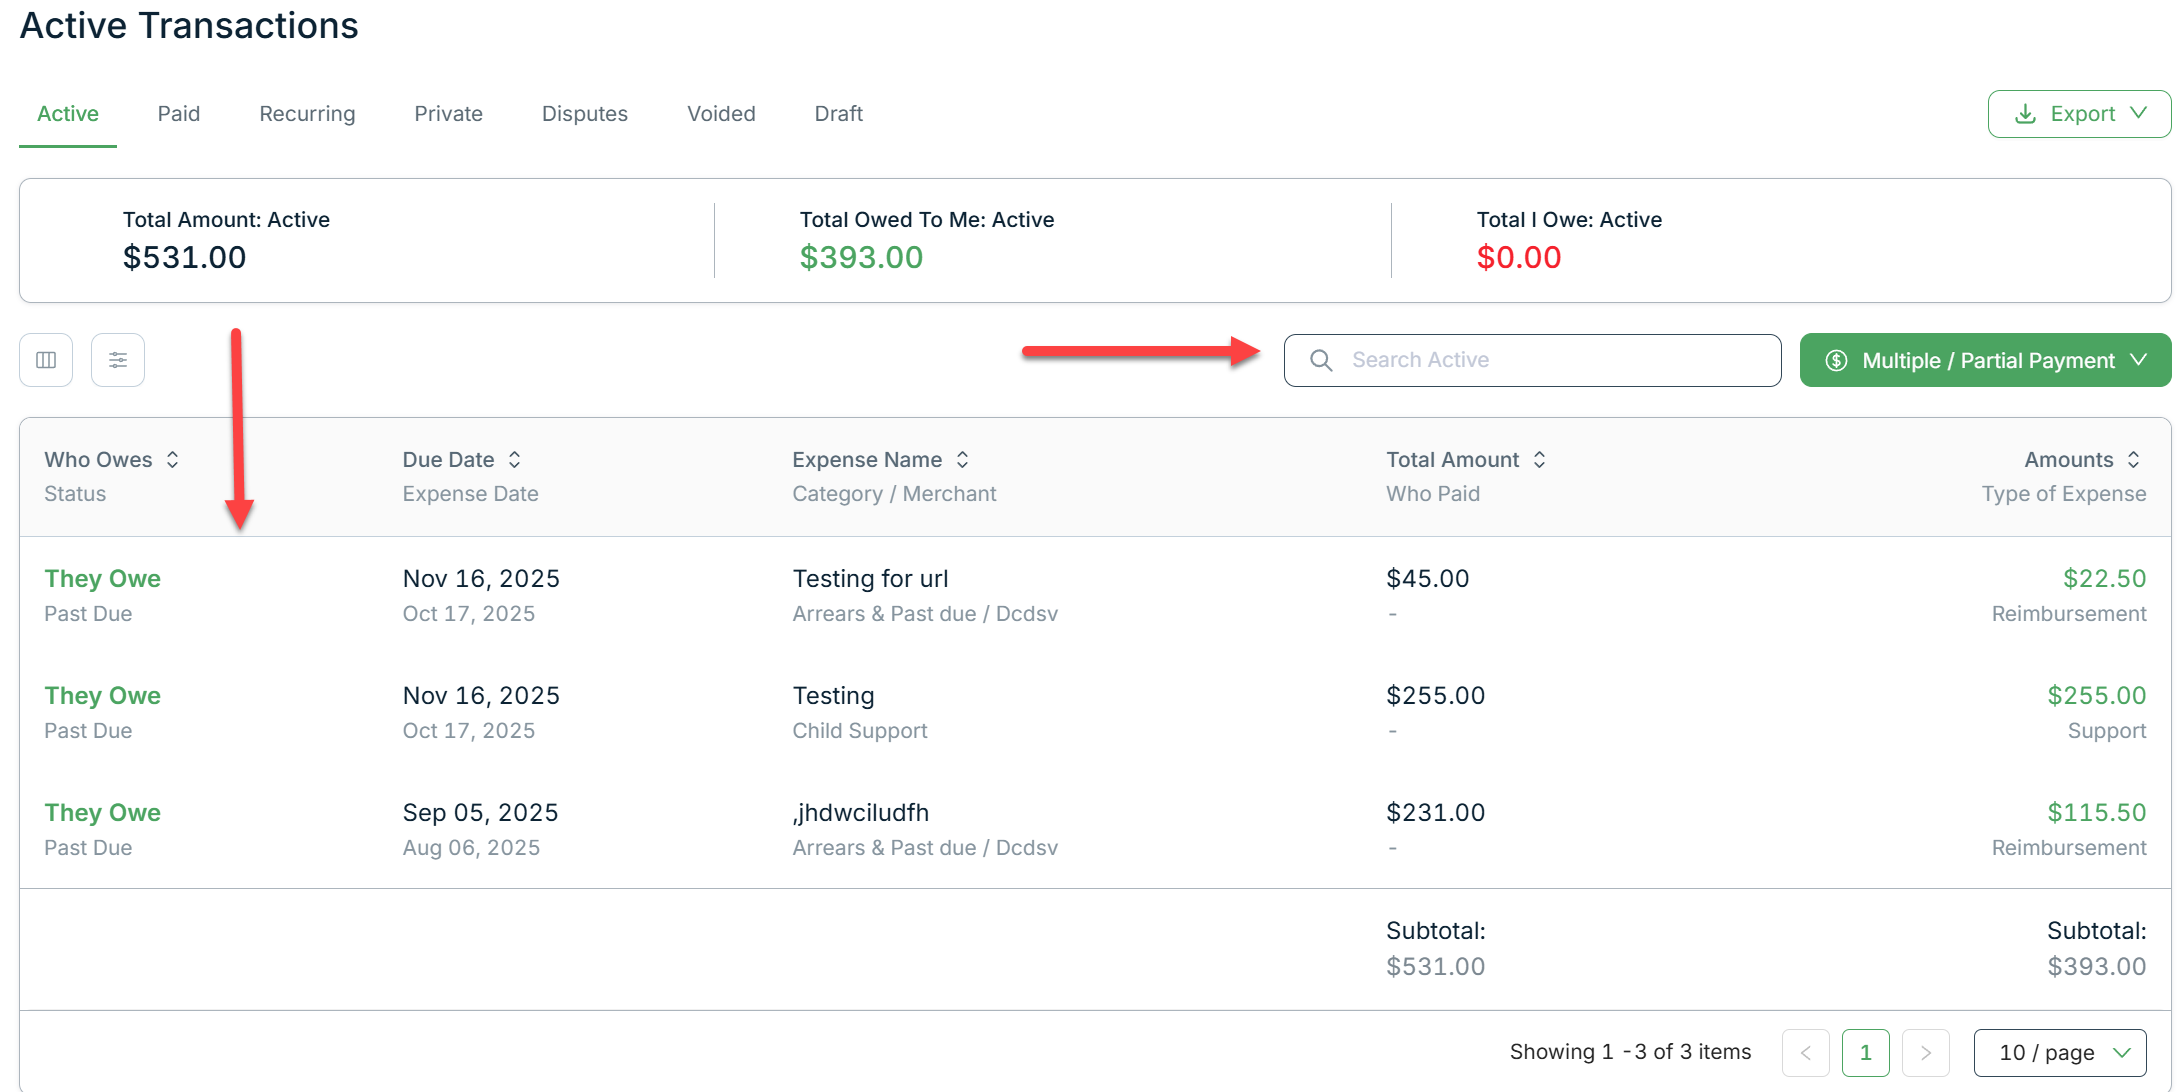
2. Locate the expense you'd like to add the receipt to and click on it. You can either select it from the list or look for it using the search bar.
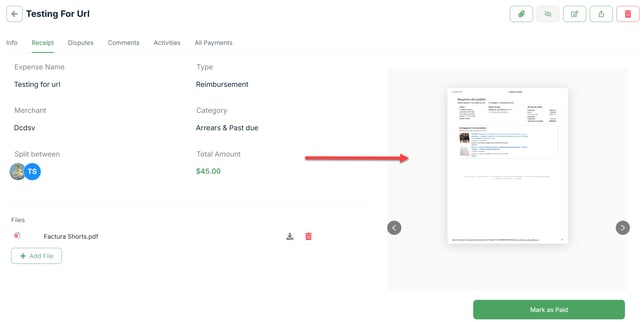
3. On the expense detail page, go to the Receipt tab or click on the clip icon at the right-hand top of the page.

4. Click on Add File or Add Receipt.

4a. If you click on Add File, you have the option to enter the file details when uploading it. Once ready, click on Add.

4b. If you click on Add Receipt, you'll upload the file directly from your device without adding any details.
5. Once the file is added, you'll see a preview of the receipt on the right side of the page. Also, you can add more files if needed.
Please don't hesitate to contact us at help@supportpay.com if you have any questions about this topic. Our Helpdesk team will be delighted to help if that's the case.